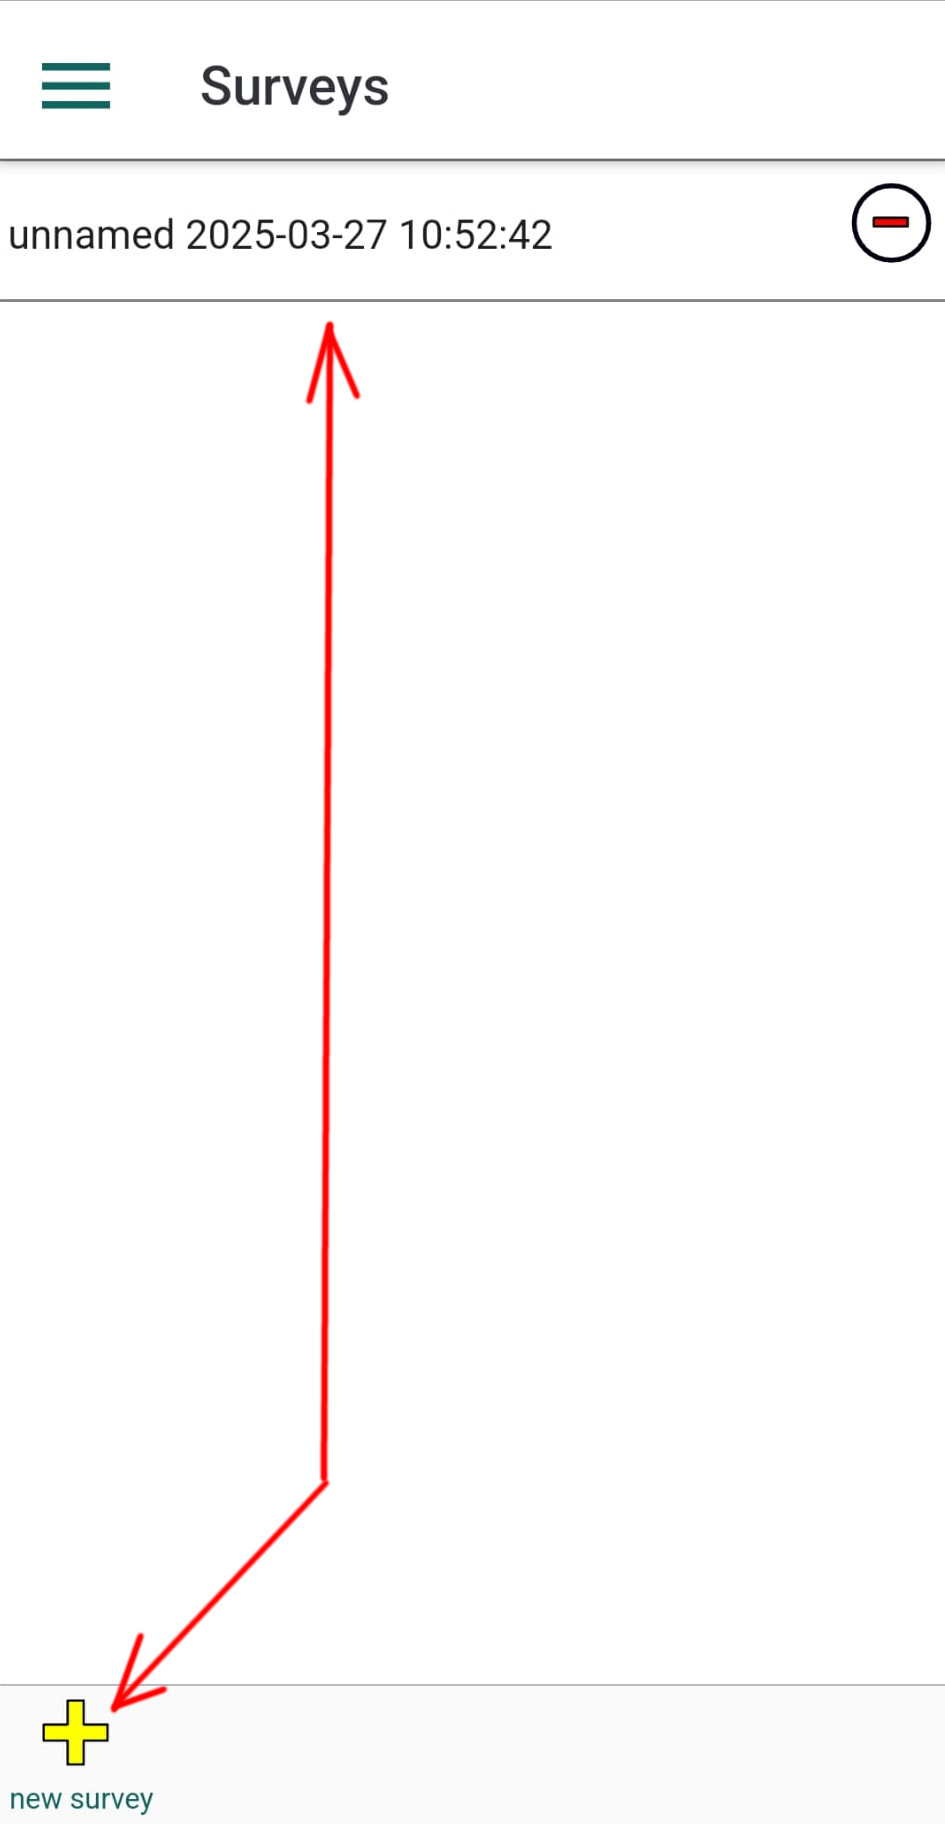
To add a new survey, tap the menu item labeled "Surveys". In the panel that opens, tap the New Survey button at the bottom of the screen — it’s represented by a yellow plus icon.
A new survey entry will appear in the list, labeled “unnamed” followed by a timestamp. You can rename the survey by tapping on its name in the Survey Info panel that opens automatically after creation.
This panel includes several sections: Survey Information, Additional Information, Survey Summary, and Survey Settings.
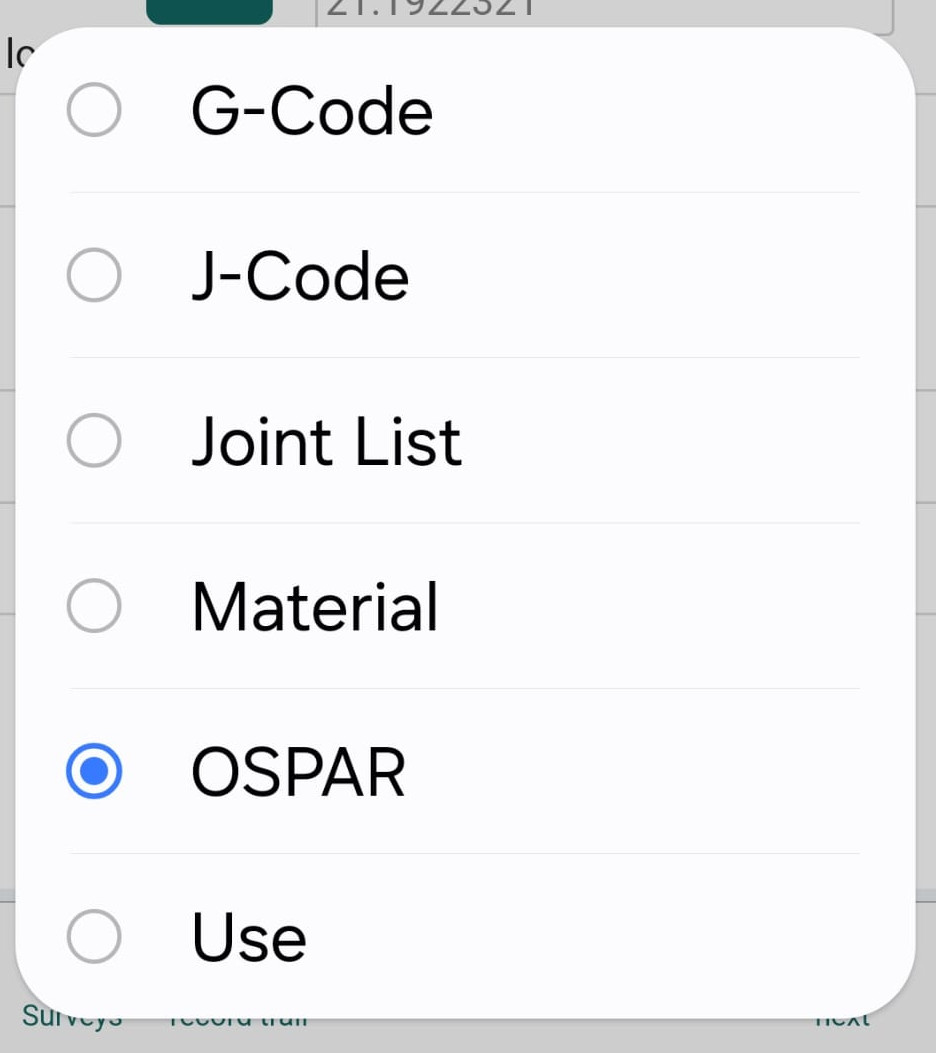
The Survey Information section contains general details about the current survey. These fields can be filled in at any time, but it’s important to select the Counting List Type before you begin — this determines which list the application loads for data collection.
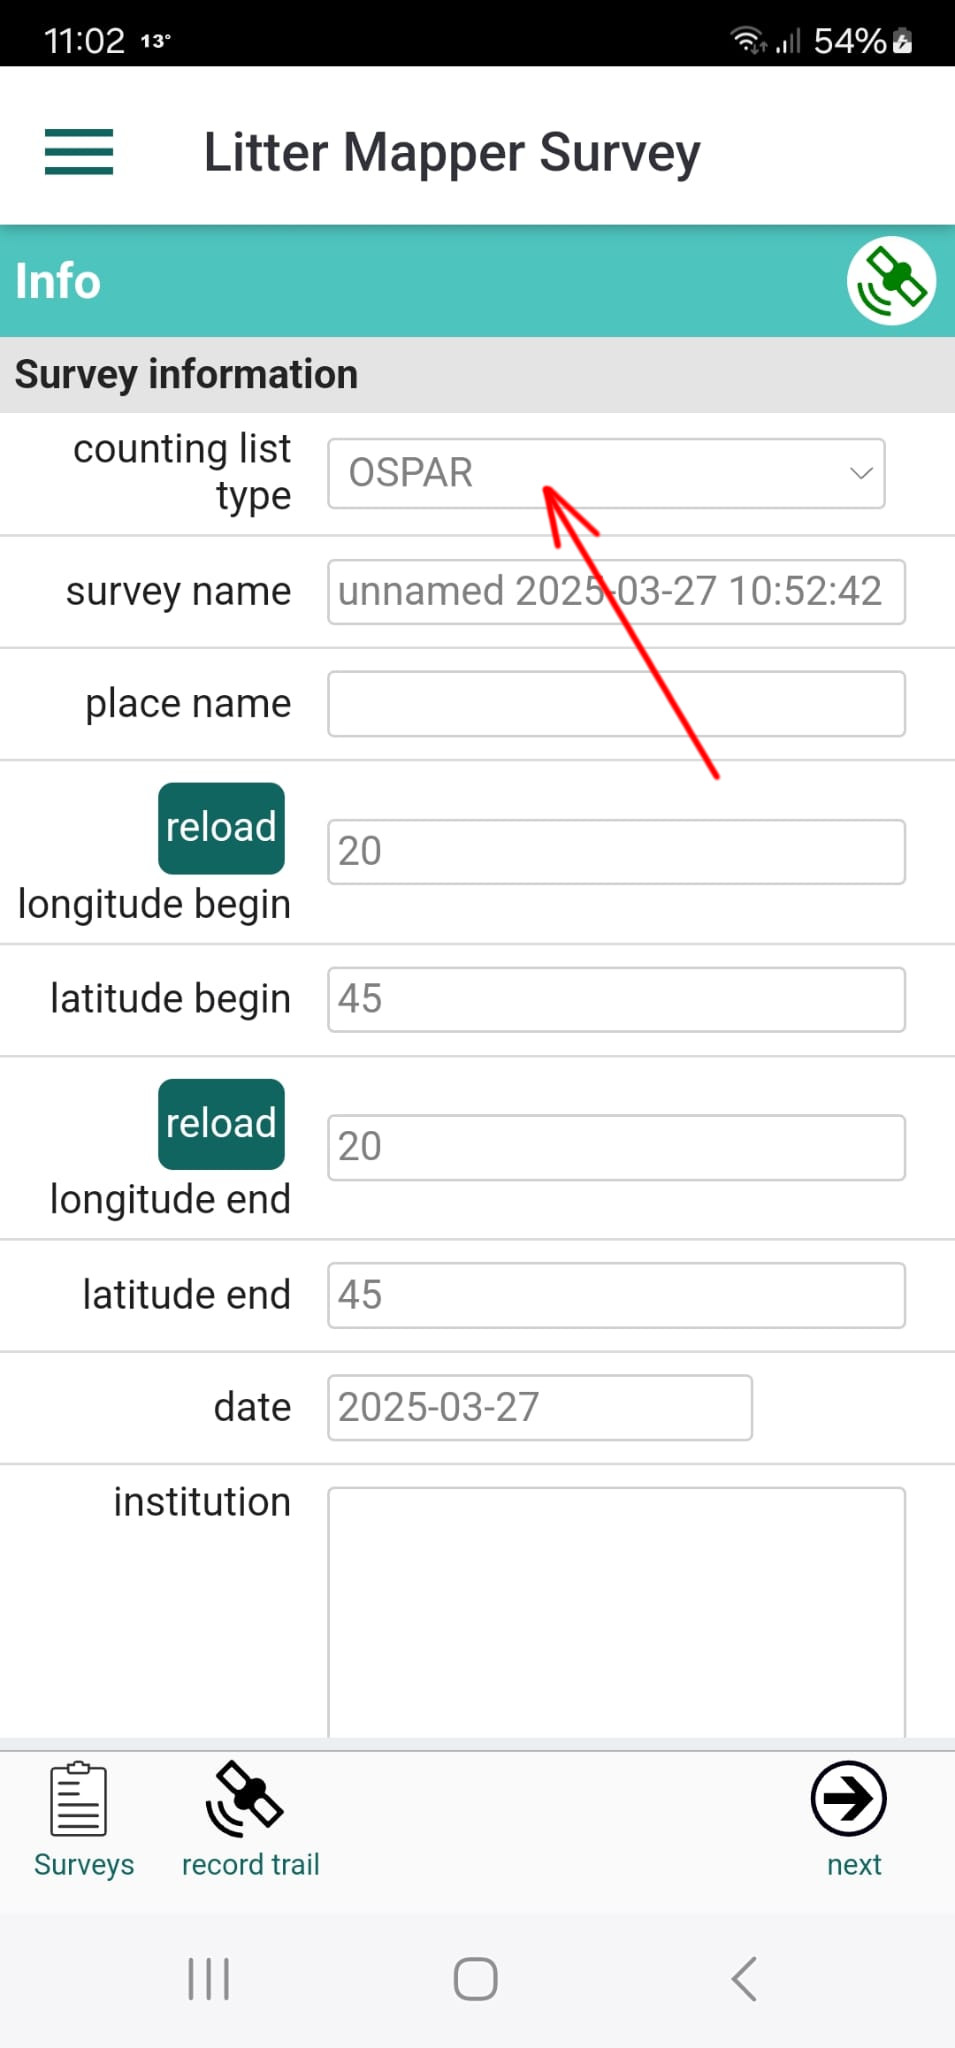
You can manually enter the start and end coordinates of the survey.
Coordinates must be in decimal degrees format. For example,
latitude 39.4479 and longitude 20.2752 represent Plataria Beach in Greece.
Do not include N/S or E/W letters or degree symbols. Instead:
-74.0060 (New York City), and a southern latitude might be -33.8688 (Sydney).
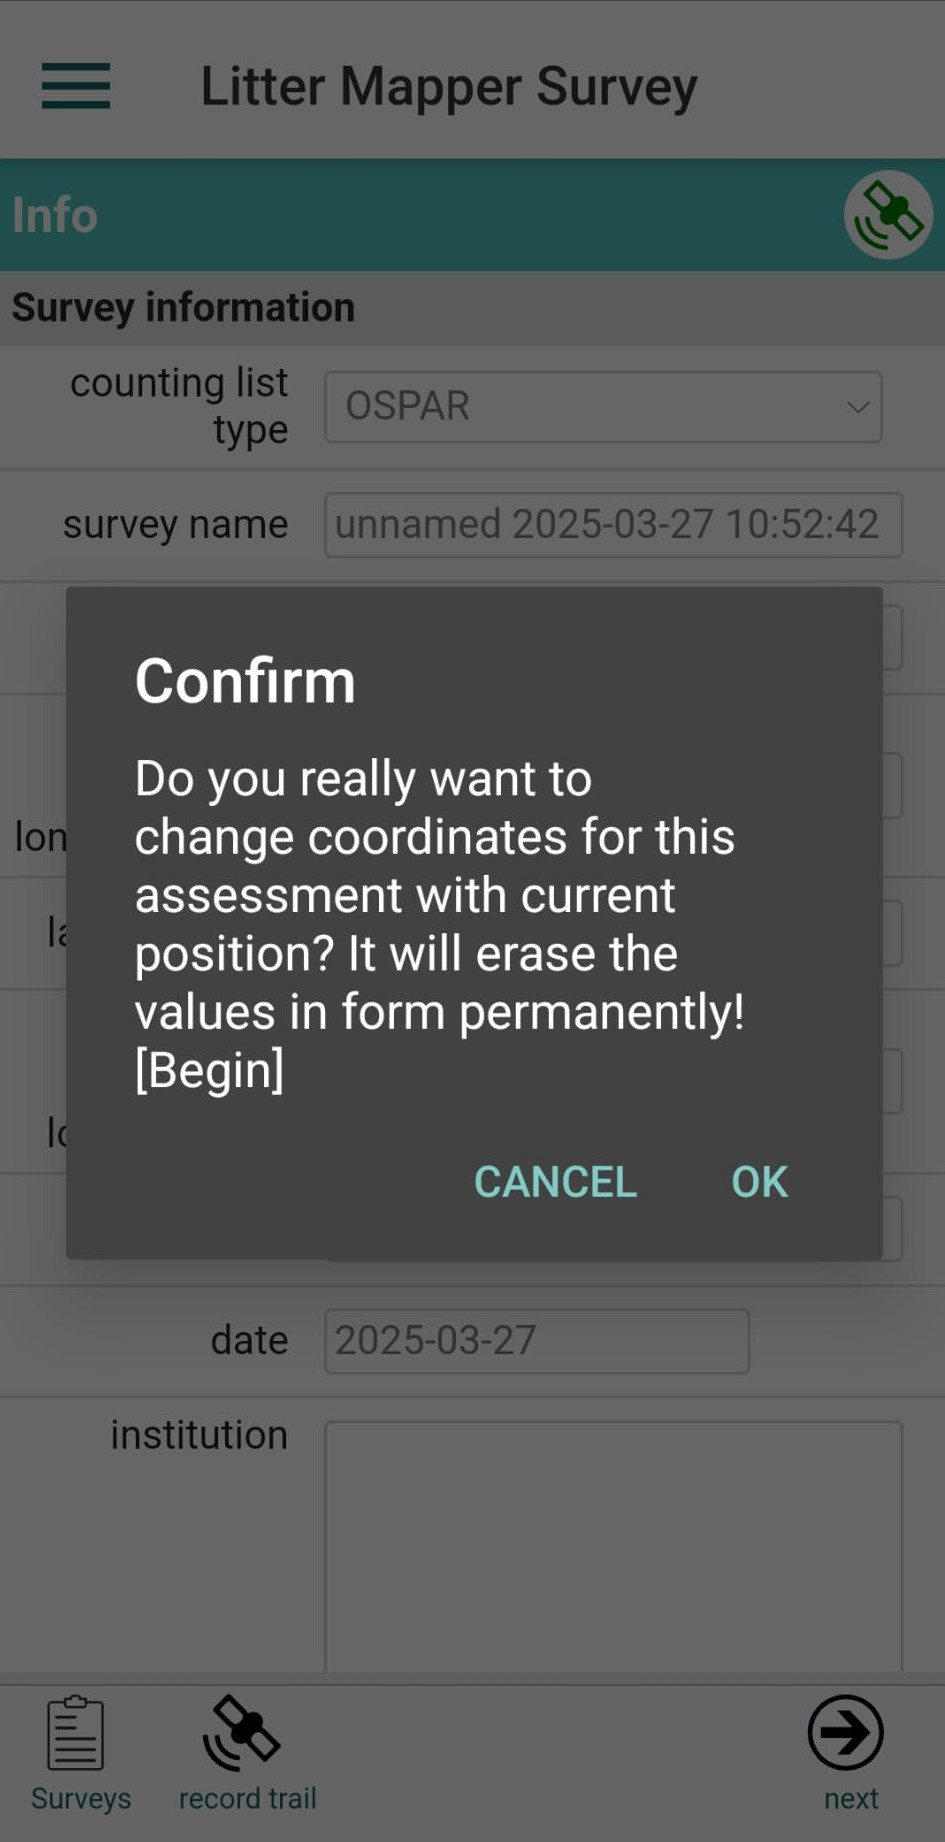
You can use your mobile GPS to automatically fill in the coordinates in the form. Tap the reload buttons next to the longitude fields.
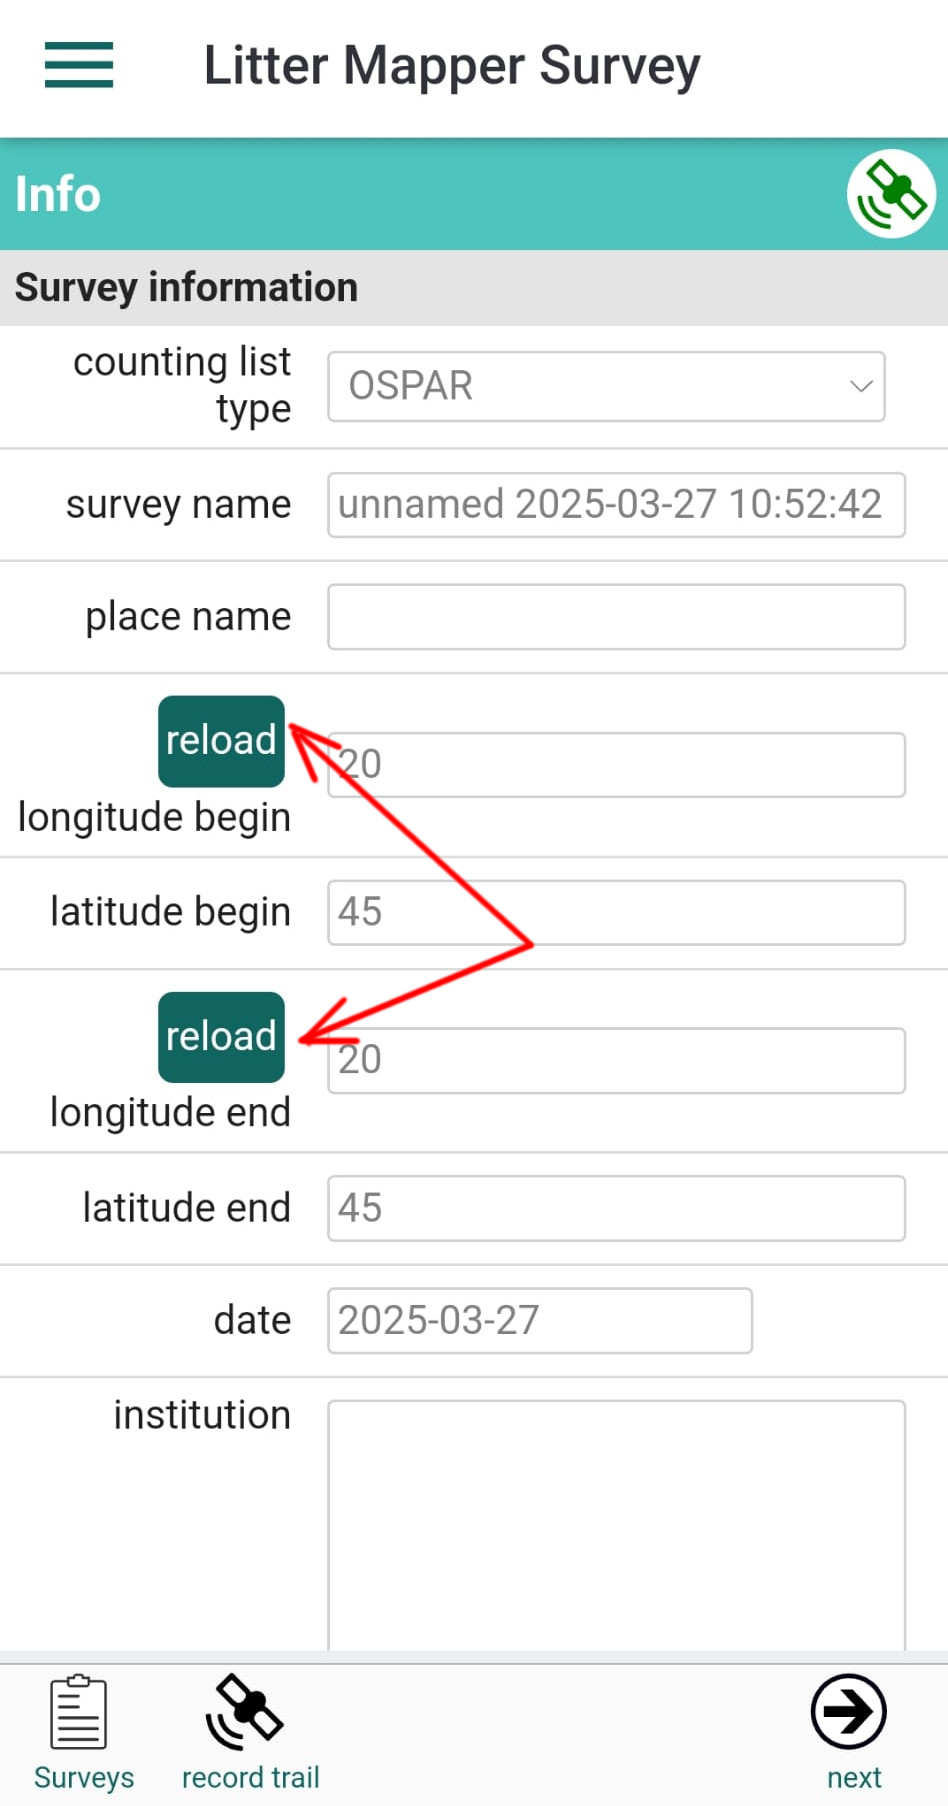
A confirmation message will appear asking if you want to replace the current values.
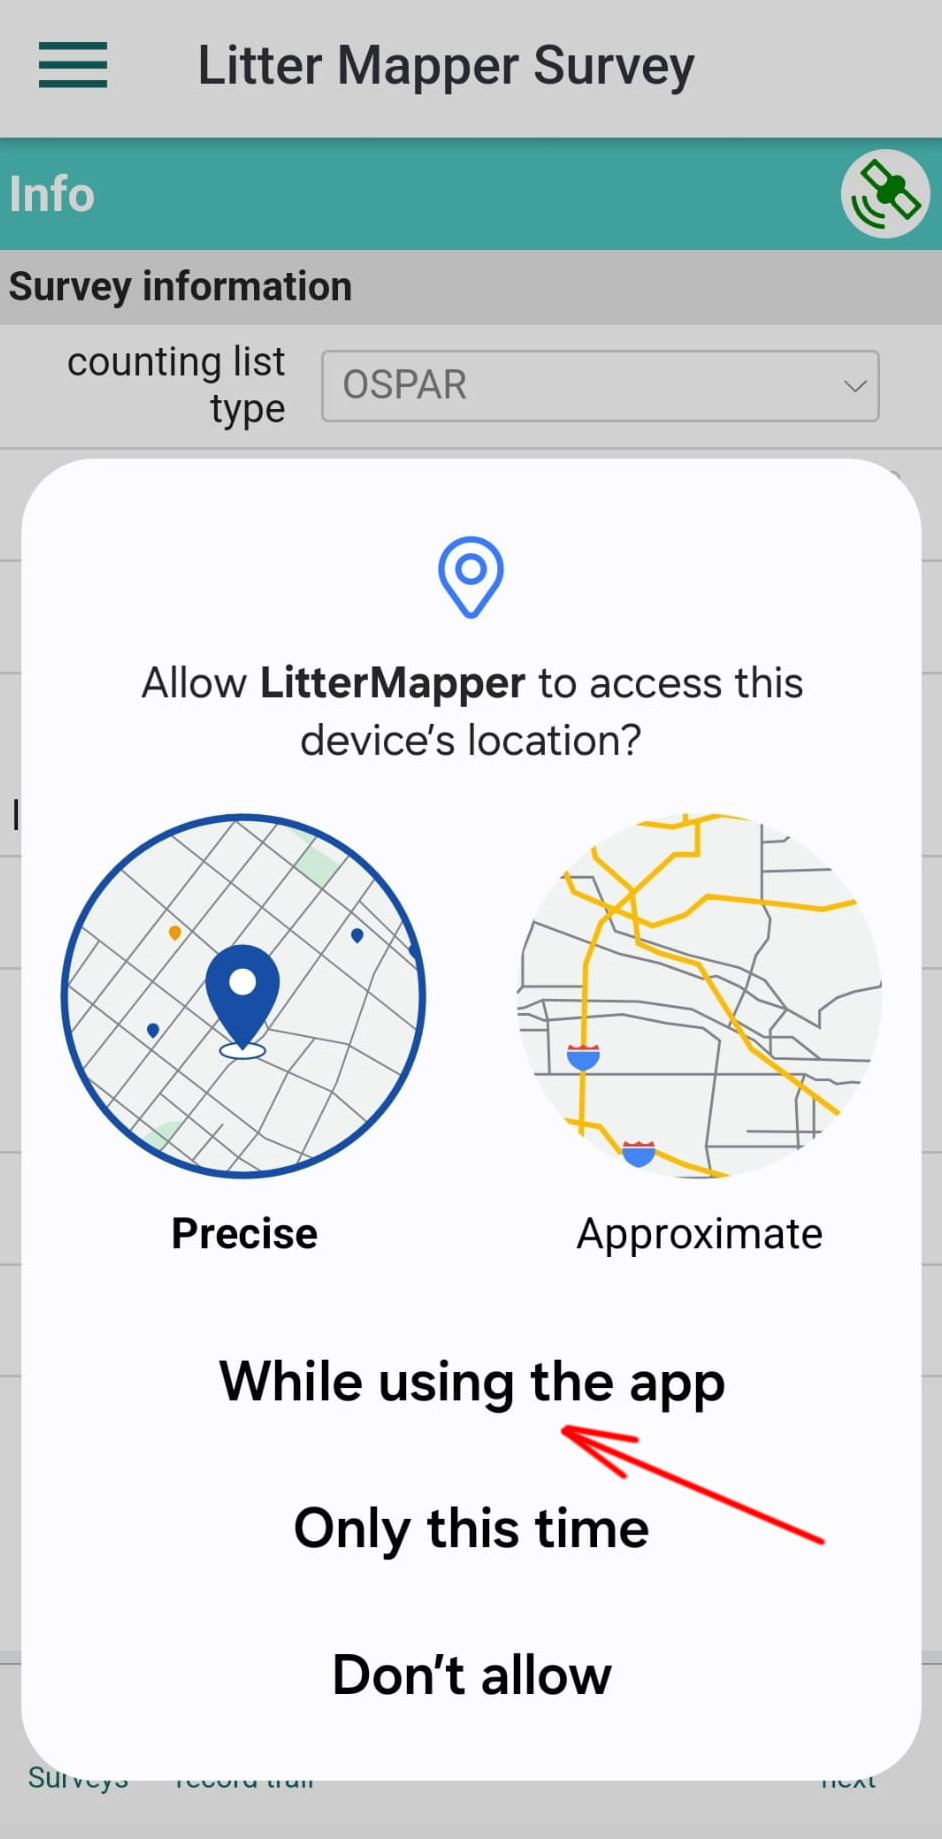
To use GPS with LitterMapper, you need to grant the appropriate location permissions. It is recommended to select the "While using the app" option from the dialog that appears the first time you tap a reload button.
If you made a mistake at this step or want to change your choice later, you can always adjust the app’s location permissions in the Android or iPhone system settings.
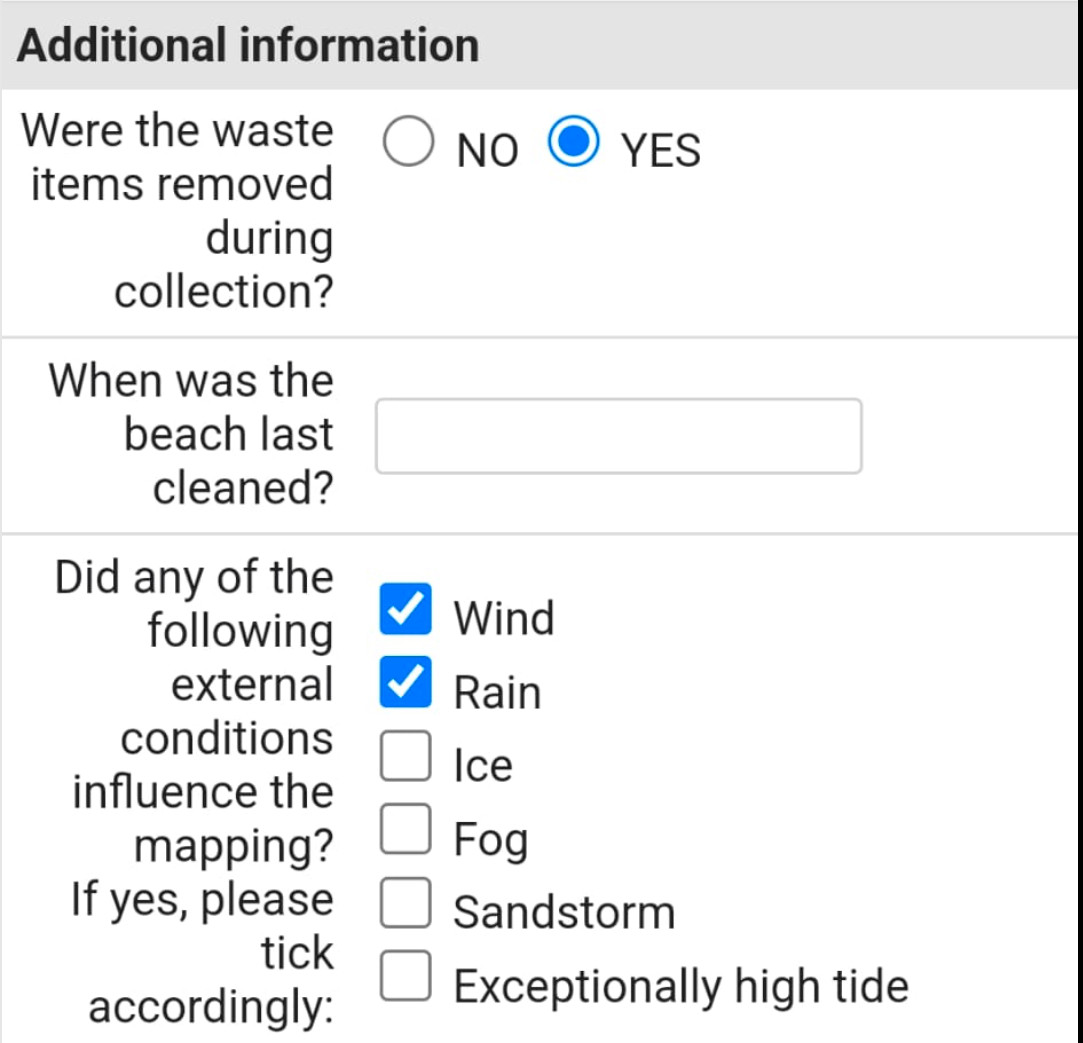
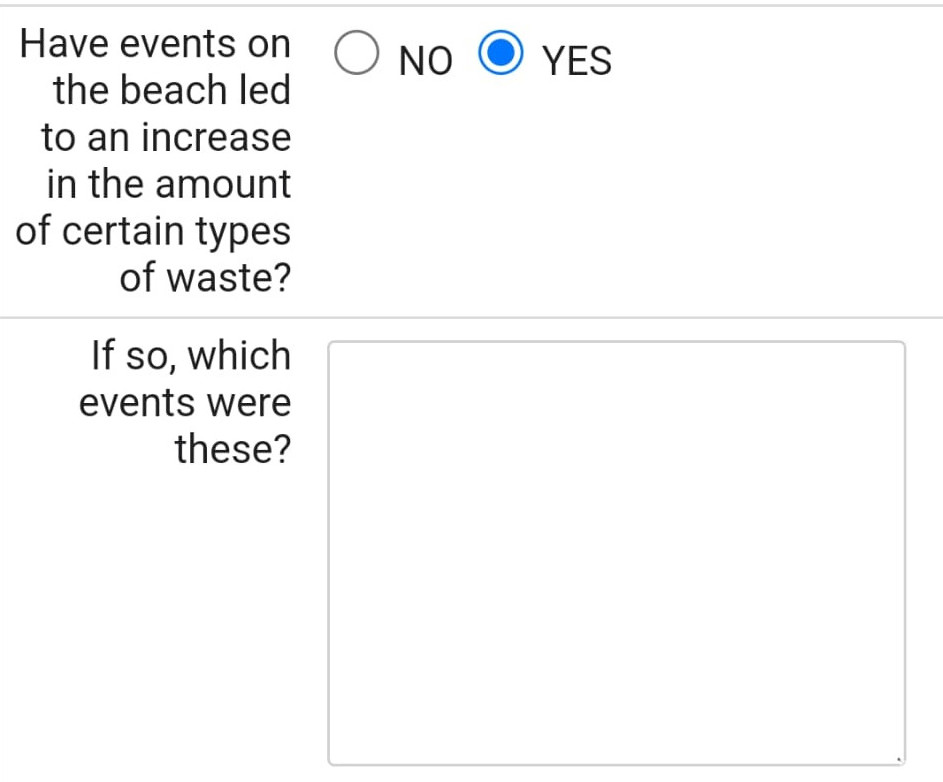
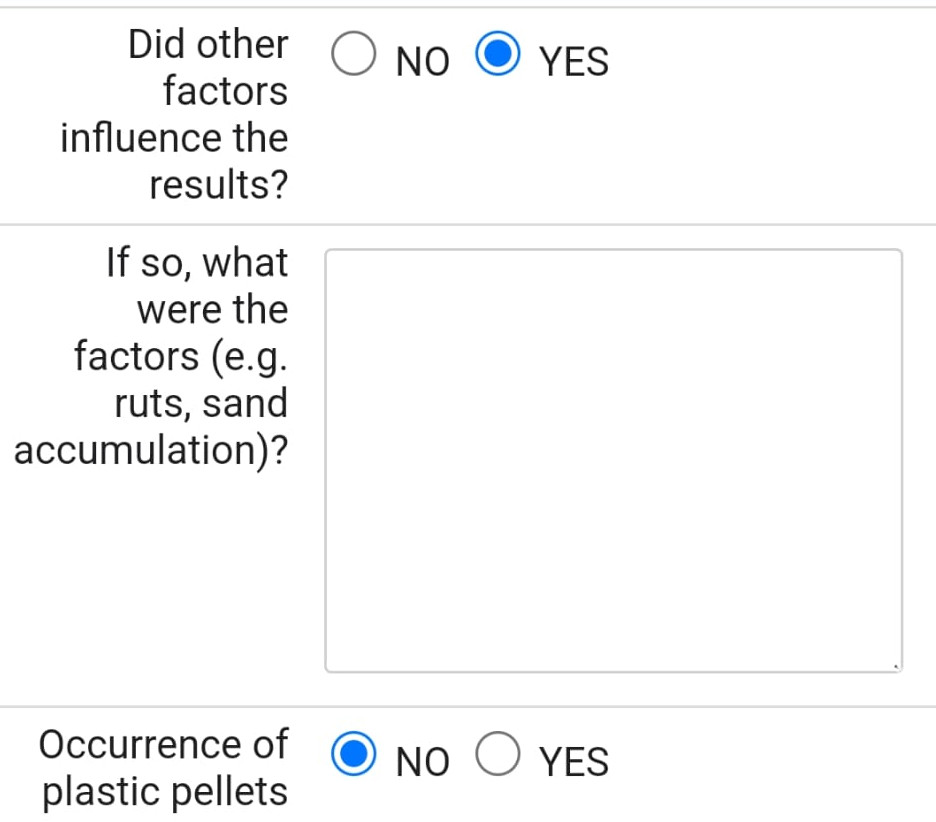
This section includes fields that record the conditions of the survey and certain types of findings. Depending on the values selected (checkboxes or dropdowns), additional fields may appear to let you specify the selected option in more detail.
This section shows simple statistics about current survey.

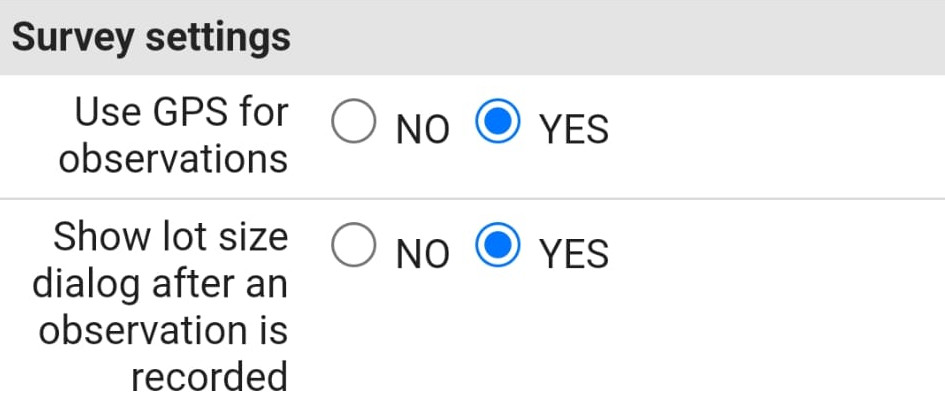
This section includes settings related to how observations are handled within a survey.
Use GPS for observations is set to YES by default. This means each observation will also store GPS coordinates, allowing it to be displayed on the map. You can set this to NO if you're in an area with low or no GPS signal. In that case, you can still manually enter the begin and end coordinates in the Survey Information section.
When recording observations, LitterMapper automatically adds one observation with a default count of one item. You can later update the number of items counted for that observation.
By default, the app displays a popup form immediately after recording an observation. This form lets you adjust the Item count — the number of items recorded in that observation. This behavior is controlled by the Show item count dialog after an observation is recorded setting. If set to YES, the dialog appears automatically after each entry.
For faster recording — especially when most observations involve just one item — you can switch this setting to NO. In that case, the popup will not be shown after each observation, but you can still adjust the item count anytime by opening the observation details panel.
The Surveys button opens the list of existing surveys, allowing you to view, create, or edit survey entries.
The Record Trail button starts recording your GPS trail as you move. This feature is useful for visualizing the survey path on the map.
The Next button opens the counting panel, where you can begin logging litter observations for the selected survey.